# Adding and Editing Assets
# Adding Assets
Once you’ve created at least one template, you can begin adding assets.
Select “Add Asset” from the “Edit” menu. You’ll be presented with a popup that allows you to select the type of template you’ll be using. You’ll then be presented with the “add asset” view for that specific template.
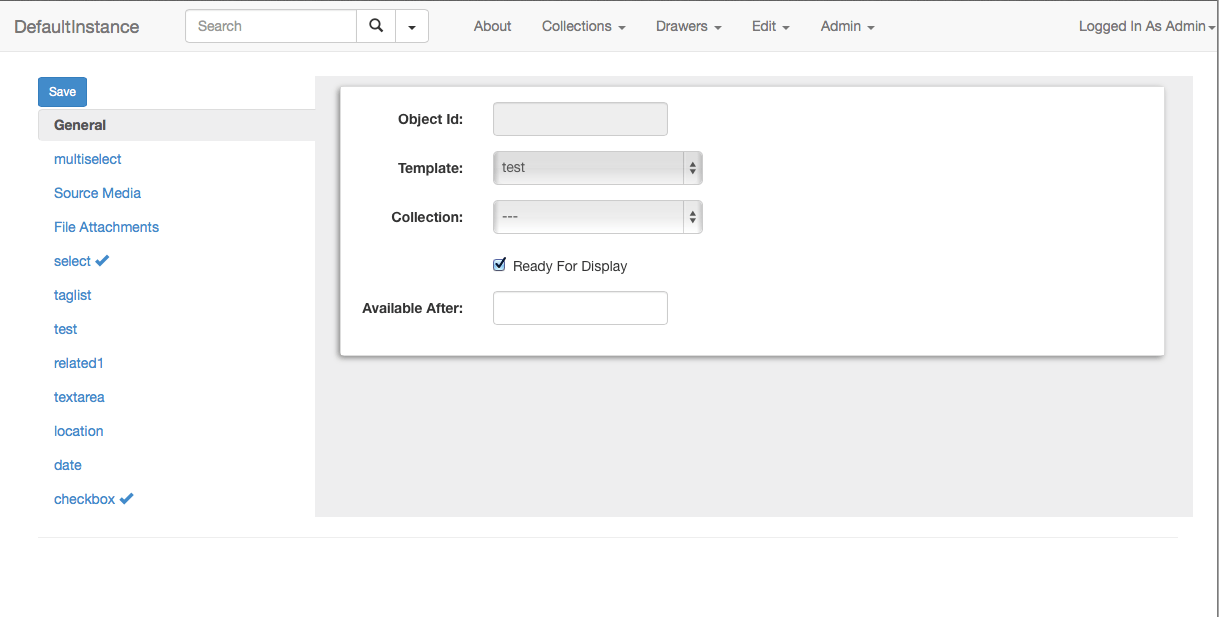
# General
All assets contain a “general” tab which contains a handful of settings about the asset.
# Collection
The collection not only defines how the asset will be grouped, but also defines where it will be stored in the cloud. This must be set before you can upload assets.
# Available After / Ready For Display
If “ready for display” is not checked, or “available after” is set to a date in the future, the asset will be hidden and not available within the search results. Available after will automatically make the asset available in the future.
# Populating Fields
All of the fields from your template will appear along the left side of the window. Click on each to see the individual field. As you populate fields, a checkmark will appear next to it in the sidebar.
If a field allows multiple entries, click the plus sign to add additional fields.
# Saving
You may save at any time by clicking the “save” button. If you have unsaved changes on the page, the save button will turn yellow.
# Uploading Files
You may select multiple files at the same time when uploading assets. After starting a file uploading, you may move on to other tabs in the sidebar – the file upload will continue. You will be prompted before leaving the page if the upload is incomplete.
If an upload fails for some reason, simply refresh the asset and select the file again. It will resume where you left off.
After a file is uploaded, a small preview will be displayed. You may add an additional description about the file if you’d like.